Creating Cases
Cases can be created automatically through your public portal or manually by your team.
Automatic Case Creation
When a data subject submits a request through your public portal:
- They enter their email and verify with a one-time code
- They select the request type and provide details
- A case is automatically created in your system
- You receive an email notification
- The case appears in your Cases list with status “Opened”
This is the recommended way to receive requests as it:
- Verifies the subject’s email automatically
- Captures all required information
- Creates a complete audit trail
- Reduces manual data entry
Manual Case Creation
For requests received via email, phone, or letter:
Who can create cases
Admins and Case Managers can create cases manually. Reviewers can work on existing cases (change status, upload documents) but cannot create new cases.Step 1: Start New Case
- Go to Cases in the sidebar
- Click Create New Case button
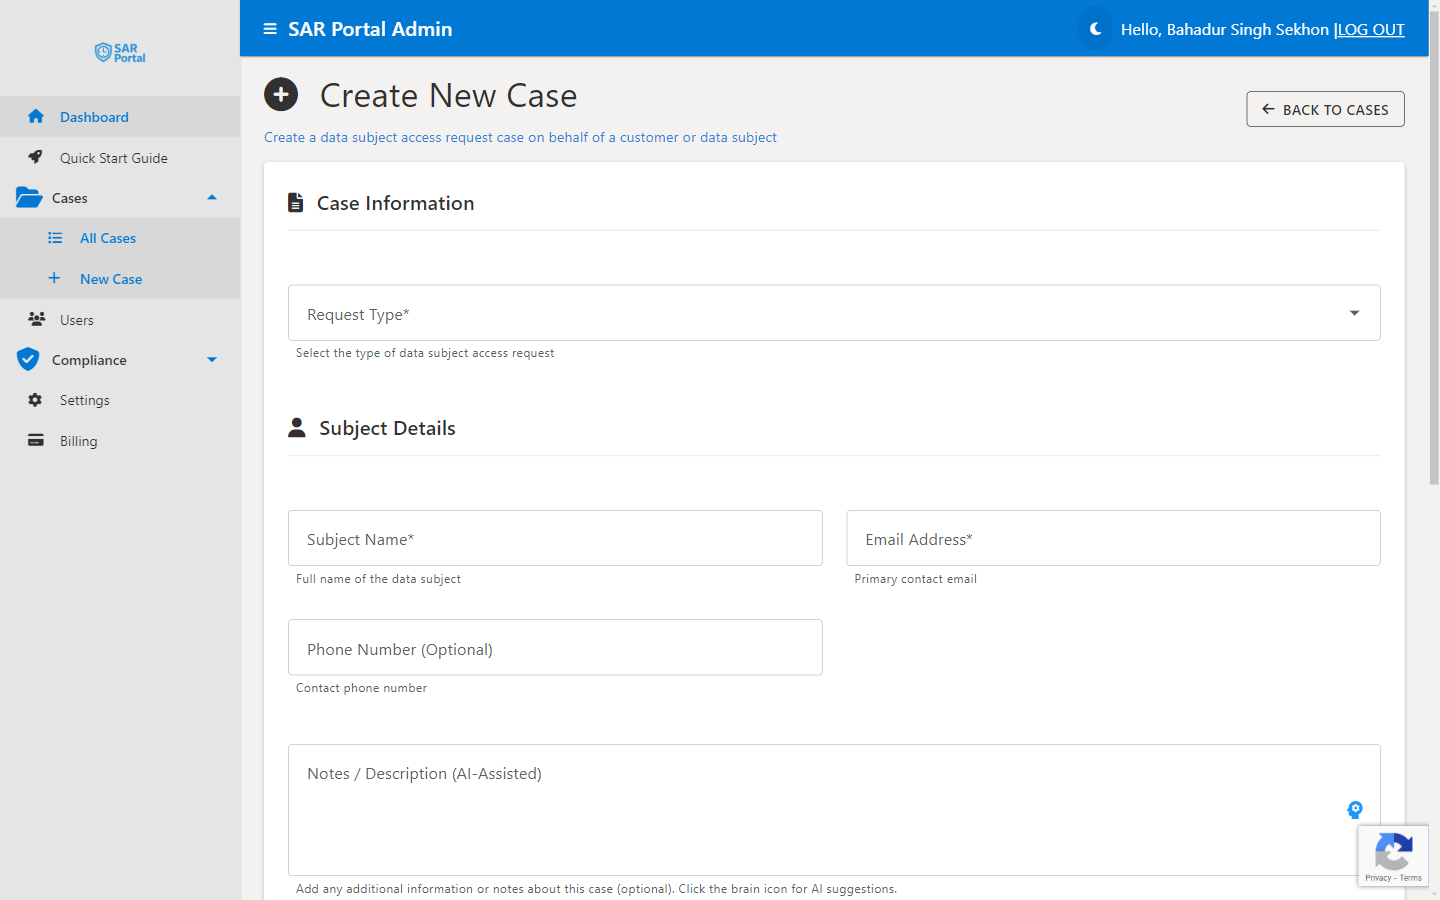
- On the create page, choose a tab: Manual Entry (type the details in yourself) or From Email (start from an email you received)
Step 2: Select Request Type
Choose the appropriate GDPR request type:
| Type | GDPR Article | When to Use |
|---|---|---|
| Access Request | Art. 15 | Subject wants a copy of their data |
| Erasure Request | Art. 17 | Subject wants data deleted |
| Rectification | Art. 16 | Subject wants to correct inaccurate data |
| Objection | Art. 21 | Subject objects to processing |
| Restriction | Art. 18 | Subject wants processing limited |
| Portability | Art. 20 | Subject wants data in portable format |
| Automated Decision | Art. 22 | Related to automated decision-making |
| Other | Various | Doesn’t fit standard categories |
Selecting more than one type
If a request covers several rights, you can select multiple request types. SAR Portal then creates one linked case per type so each is tracked on its own deadline.Step 3: Enter Subject Details
Required fields:
- Subject Name - Full name of the person making the request
- Email Address - Primary contact email
- Date Received - When you received the request; the due date is set automatically to 30 days after this
Optional fields:
- Phone Number - Alternative contact method
Step 4: Add Notes (AI-Assisted)
The Notes field supports AI assistance:
- Type your notes describing the request
- Use the AI helper to improve grammar and clarity
- Include relevant details like how the request was received
AI-Assisted Notes
The AI assistant can help rephrase and improve your notes while maintaining their meaning. This ensures professional, clear documentation.Step 5: Create the Case
Click Create Case to:
- Generate a unique Case ID
- Set the due date (30 days from today)
- Record the creation in the audit log
- Trigger any configured notifications
After Case Creation
Once created, you can:
- Attach documents - Files are attached through the Request Info, Submit Info or Close Case flows (there’s no standalone upload button); redactable files run PII detection automatically as you attach them
- Request information - Ask the subject for verification or clarification
- Mark Verified - Confirm identity with one click before disclosing data
- Update status - Move through the workflow
- Close the case - Complete with an appropriate outcome
Best Practices
For Subject Information
- Use the exact name as provided by the subject
- Verify email addresses before processing sensitive data
- Note alternative identifiers if provided (customer ID, account number)
For Notes
- Record how the request was received (email, letter, phone)
- Include the original request text or summary
- Note any specific data systems mentioned
- Document any unusual circumstances
For Timing
- Create cases promptly when requests are received
- The 30-day clock starts when you receive the request, not when you create the case
- If there’s a delay, note it and adjust expectations
Case Creation Limits
Your plan determines how many cases you can create:
| Plan | Monthly Limit | Admin Buffer |
|---|---|---|
| Basic | 1 case | +1 |
| Starter | 5 cases | +2 |
| Pro | 25 cases | +5 |
The admin buffer allows administrators to create a few extra cases beyond the public portal limit, ensuring you can always handle direct requests.