Quick Start Guide
This guide helps you complete the essential setup tasks and process your first DSAR. Follow these steps to become operational quickly.
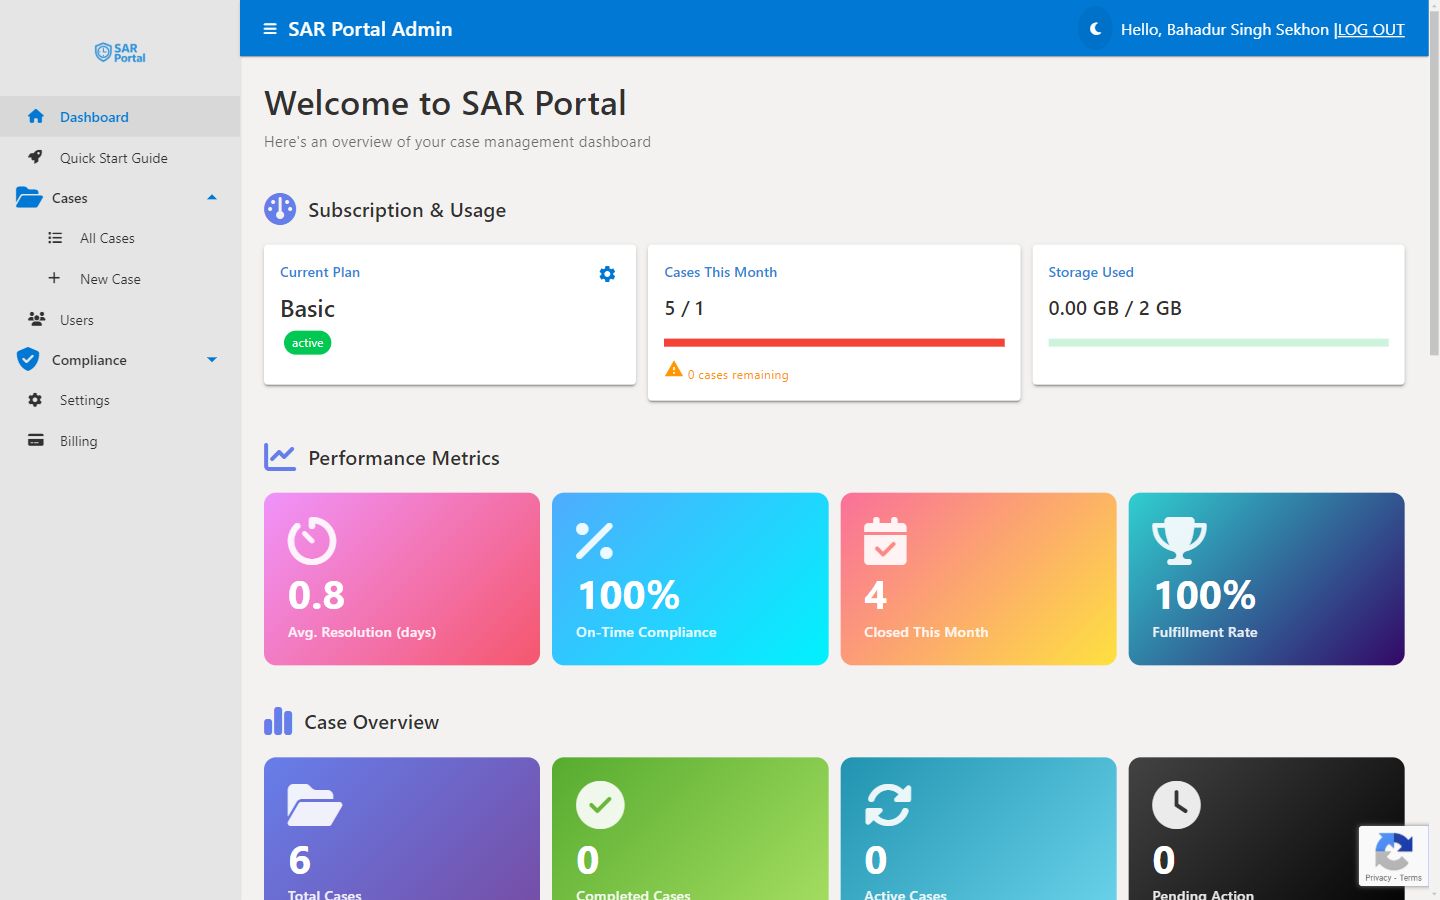
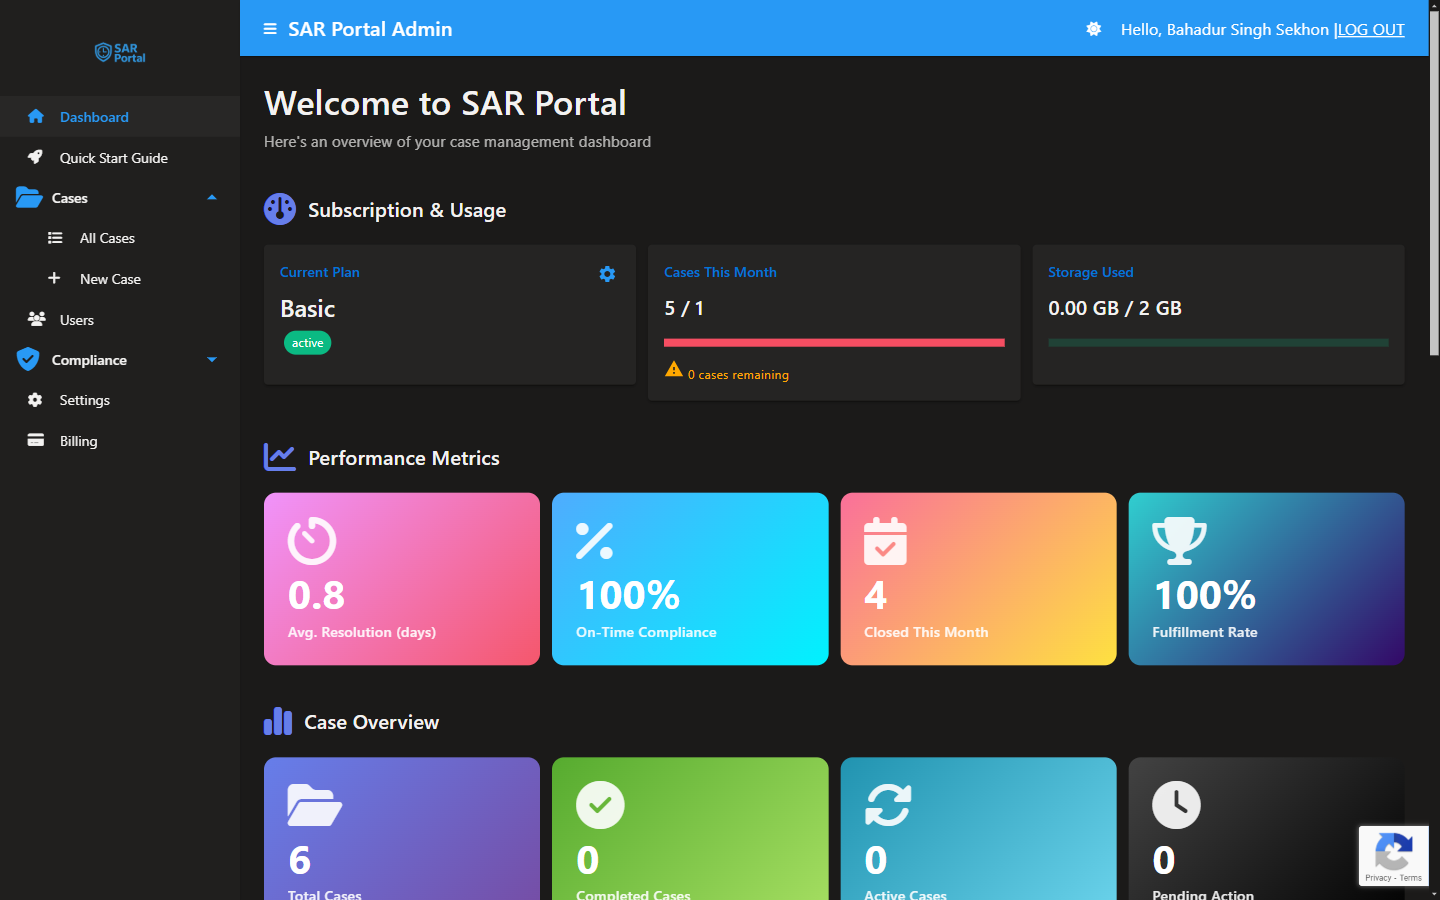
Before You Begin
Make sure you have:
- Completed registration
- Access to your organization’s email
- Your company logo (optional, for branding)
Step 1: Complete Organization Setup (2 minutes)
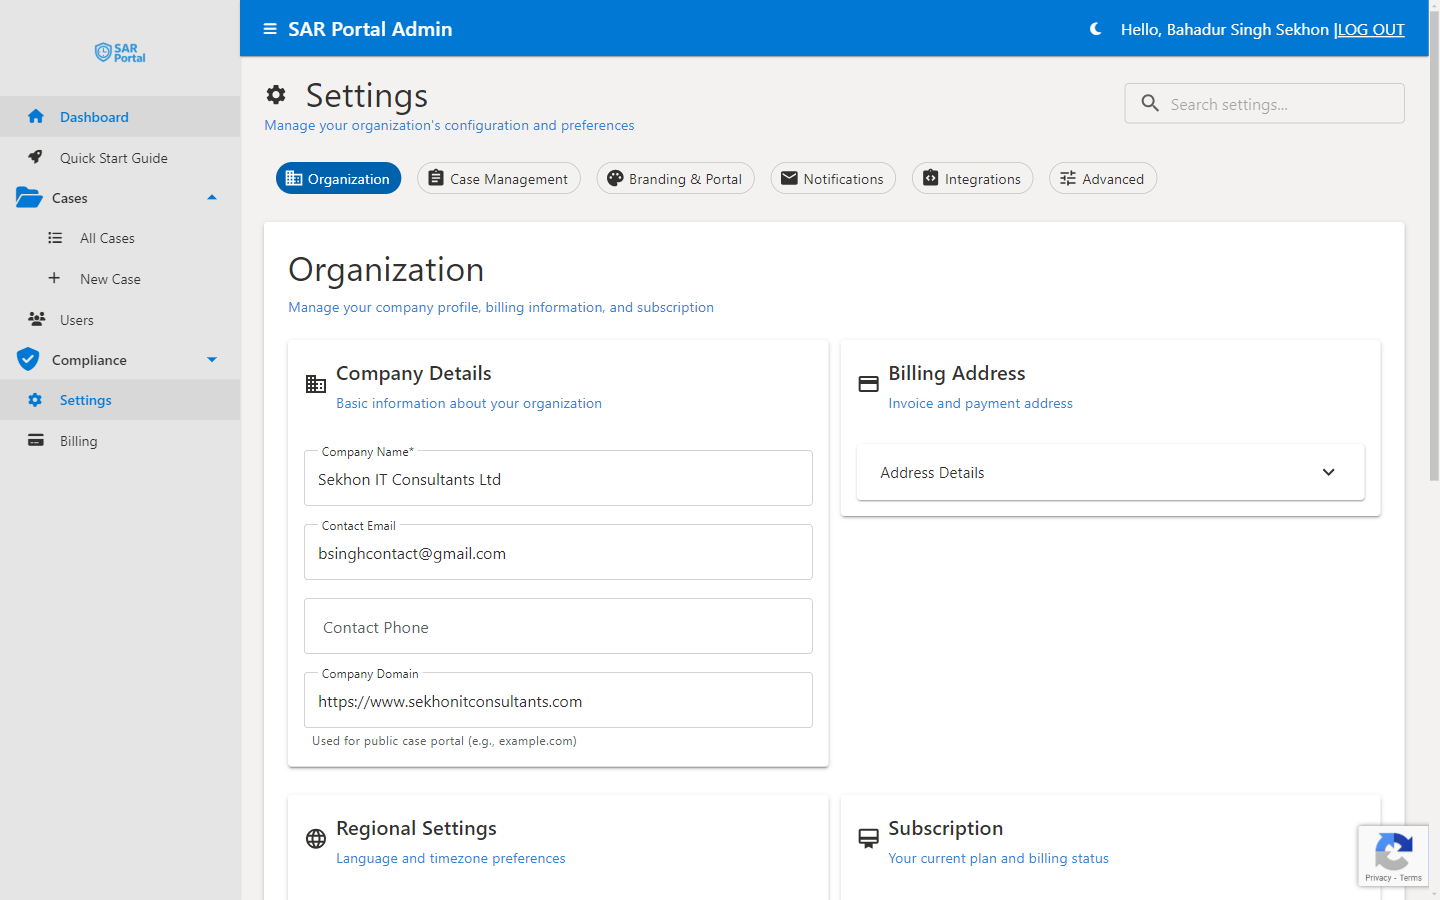
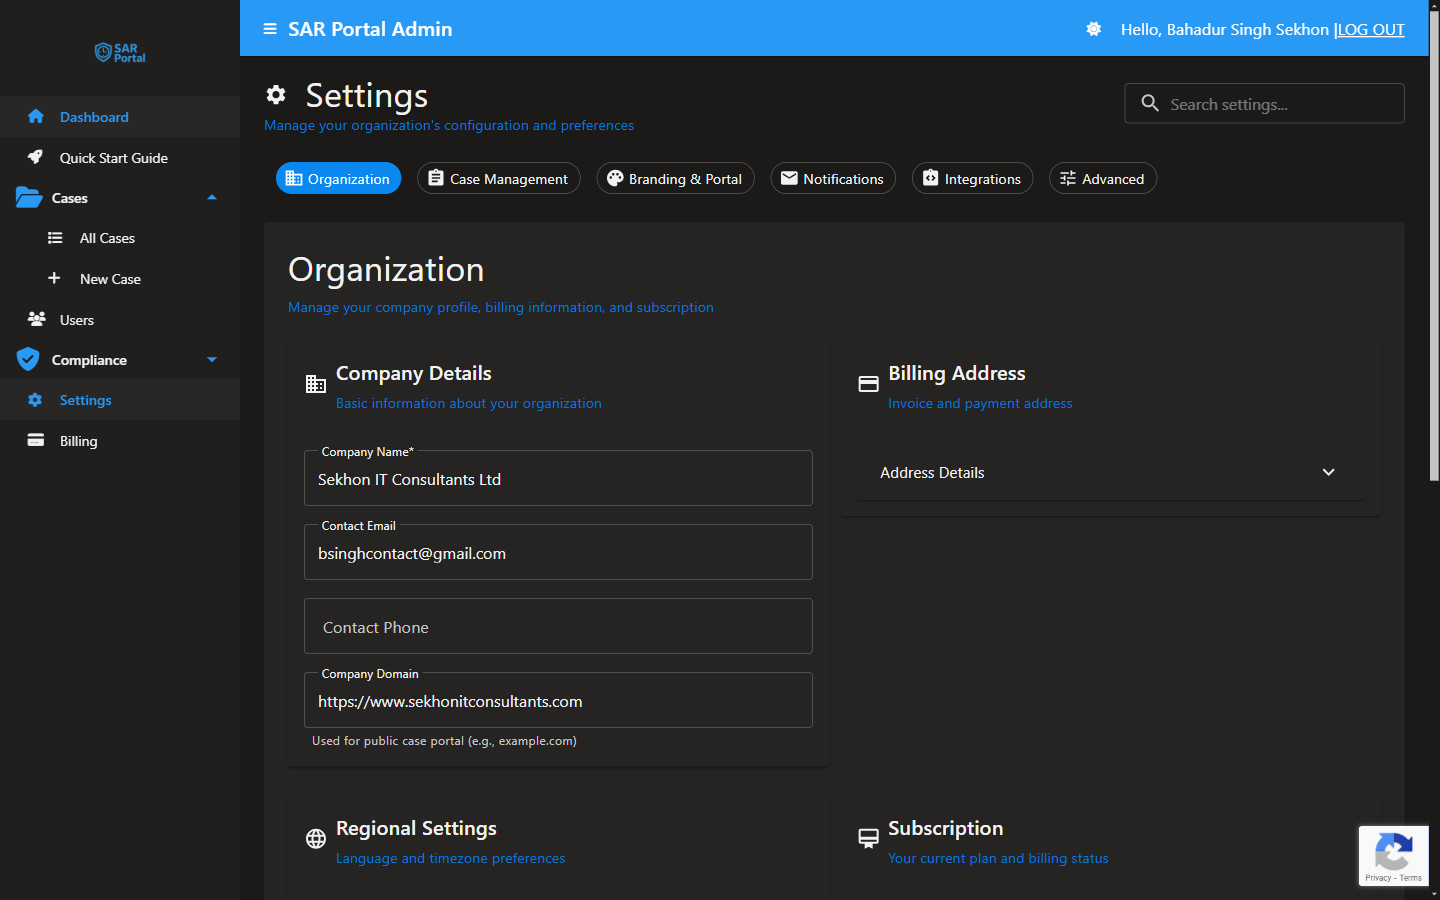
- Go to Settings in the sidebar (Settings is Admin-only — if you don’t see it, ask an admin)
- Click the Organization tab
- Fill in your company details:
- Legal company name
- Business address
- Contact phone (optional)
- Click Save Changes
Step 2: Configure Your Public Portal (3 minutes)
Your public portal is where data subjects submit requests.
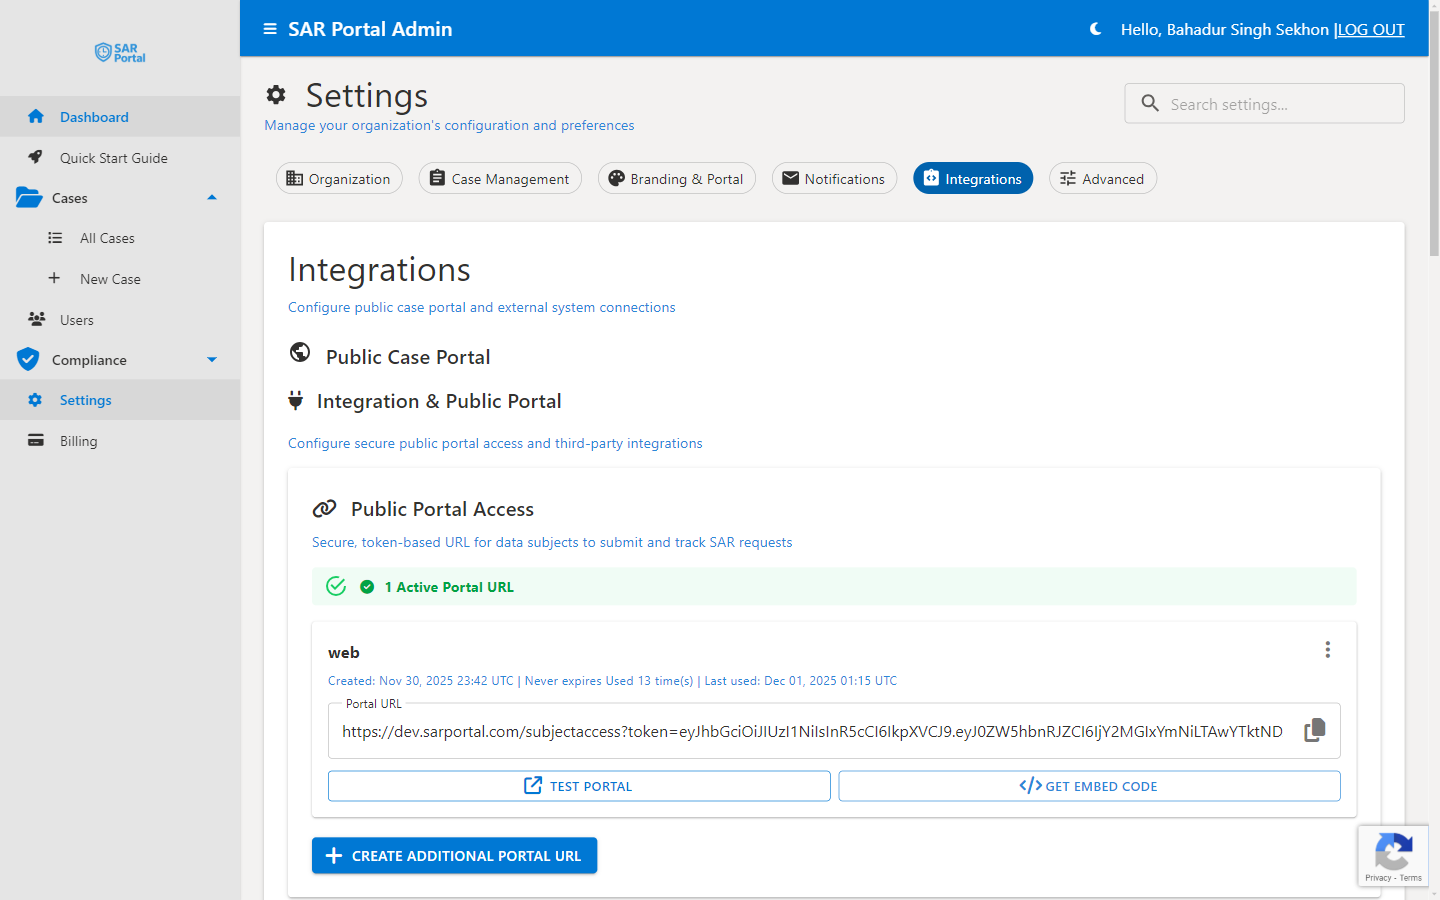
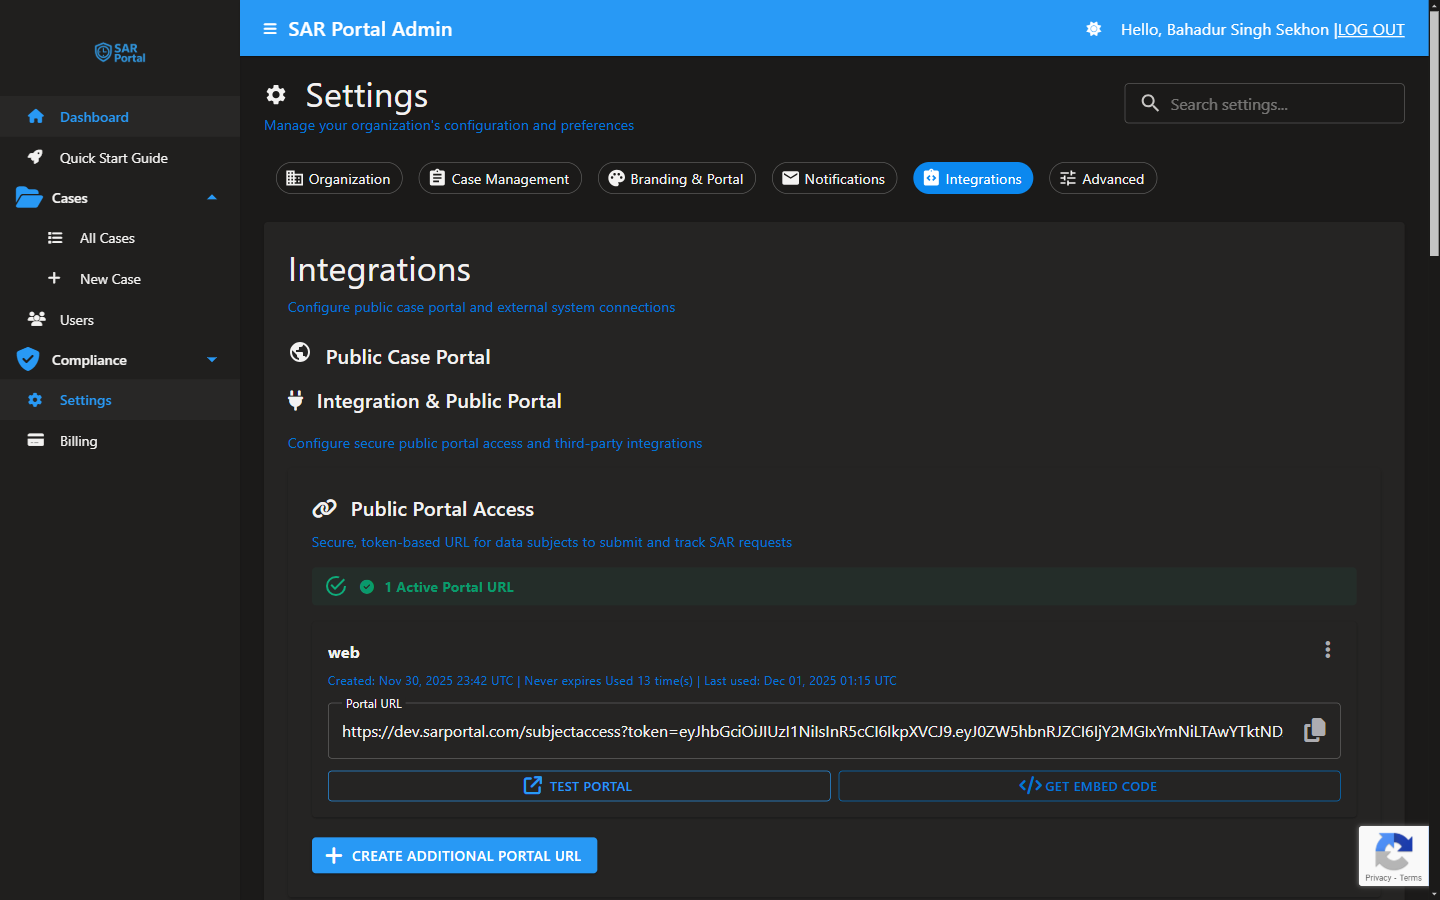
- Go to Settings > Integrations
- View your Public Portal Access URL
- Click Test Portal to preview
- Click Get Embed Code if you want to embed it on your site
- Copy your portal URL to add to your privacy policy
- Click Create Additional Portal URL to create time-bound URLs as per your requirements
Add this link to your website’s privacy policy or create a “Submit DSAR” page that links to it.
Step 3: Customize Email Branding (2 minutes)
Customize how your automated emails look to data subjects:
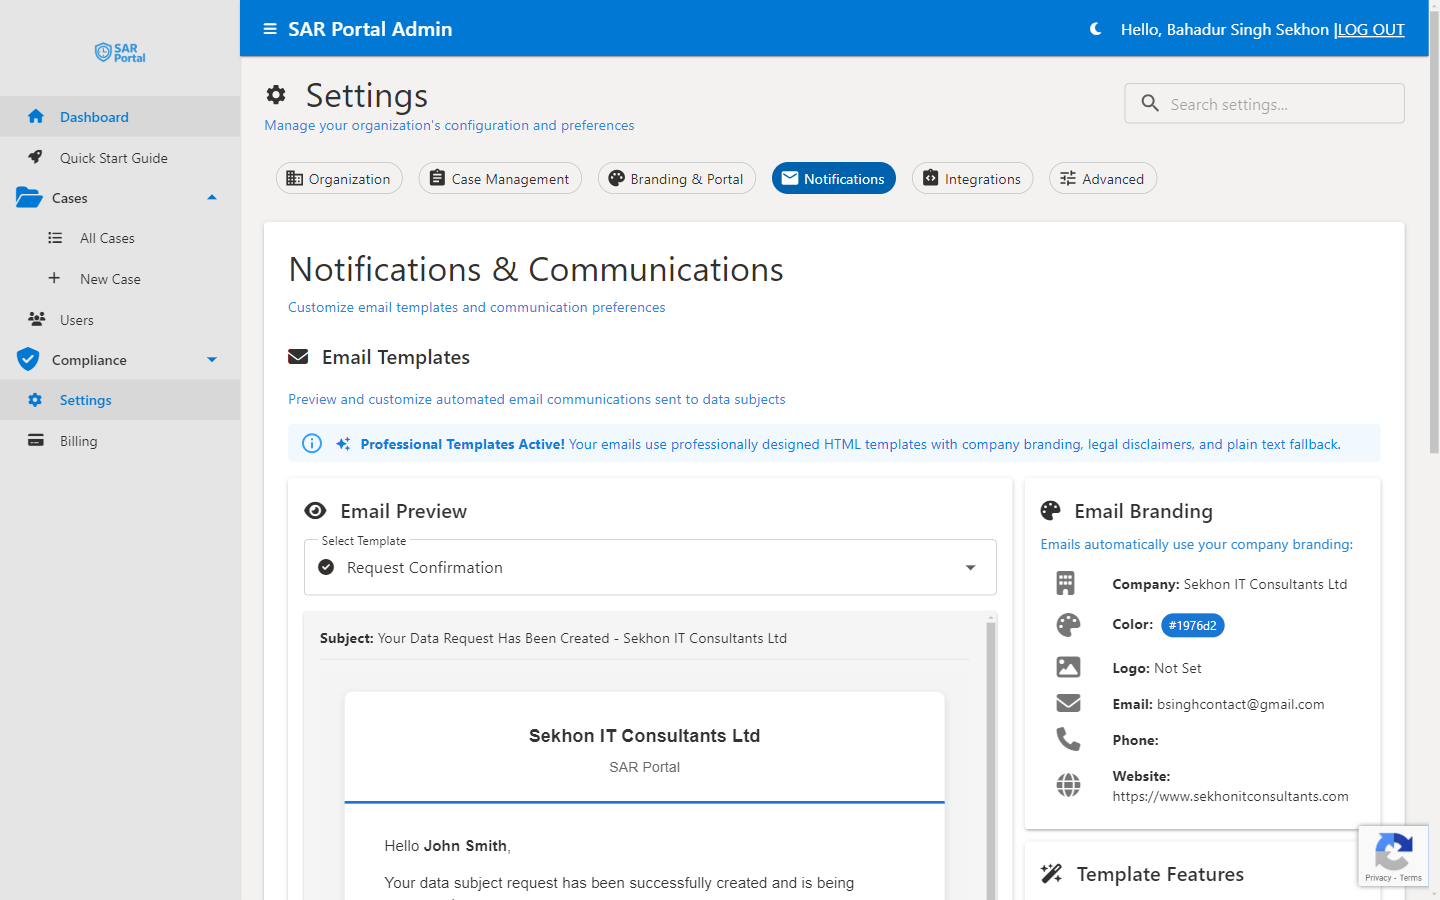
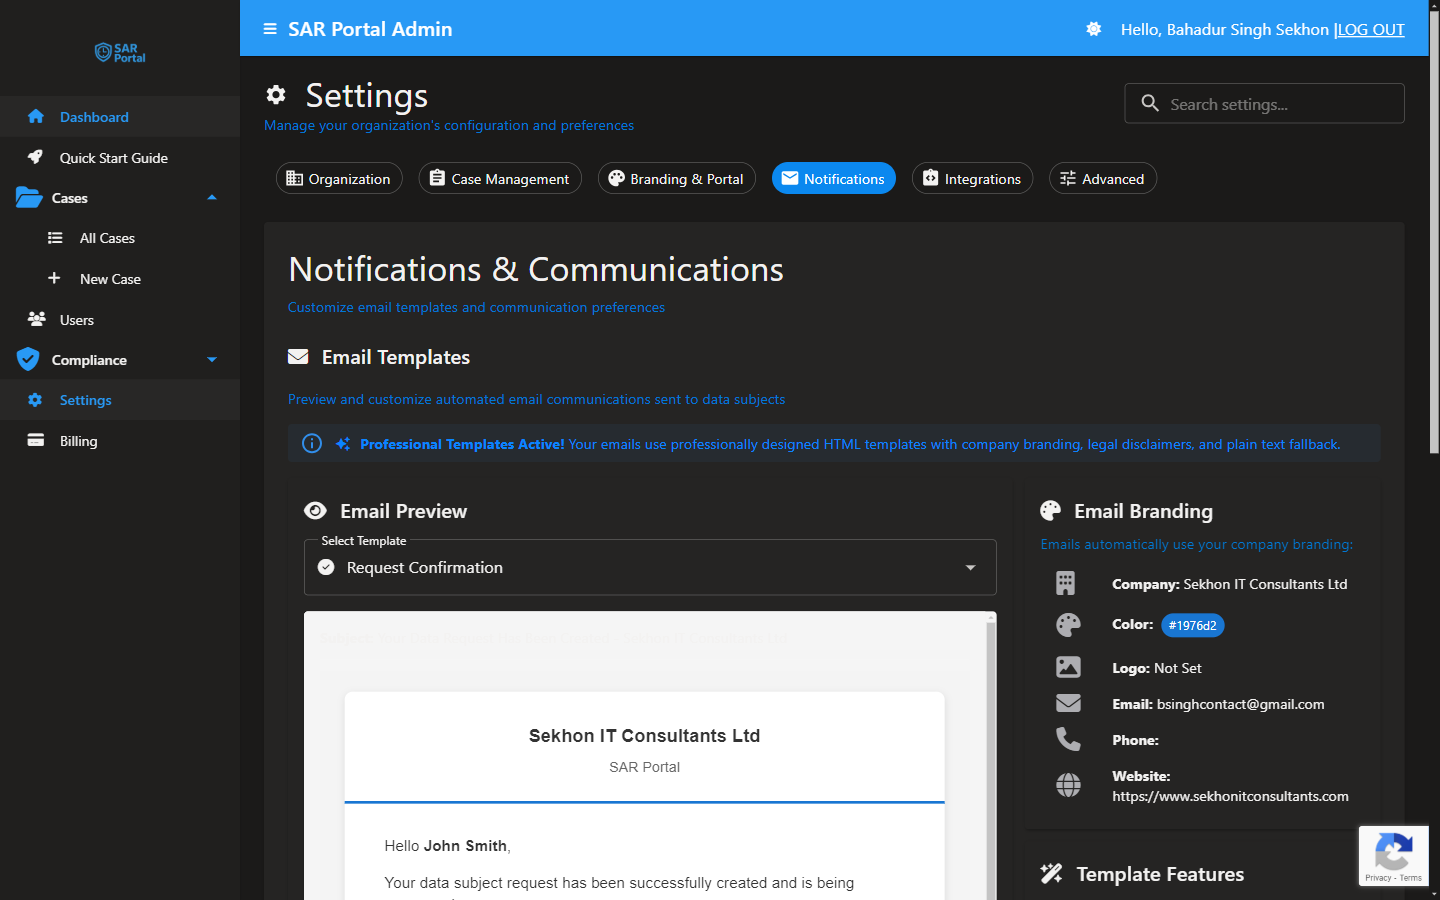
- Go to Settings > Notifications
- Configure your email template branding:
- Company name displayed in emails
- Contact email address
- Phone number (optional)
- Website URL
- Upload your logo for email headers
- Set your primary brand color for buttons and links
- Click Send Test Email to preview how emails will look
Step 4: Create Your First Test Case (3 minutes)
Practice with a test case before going live:
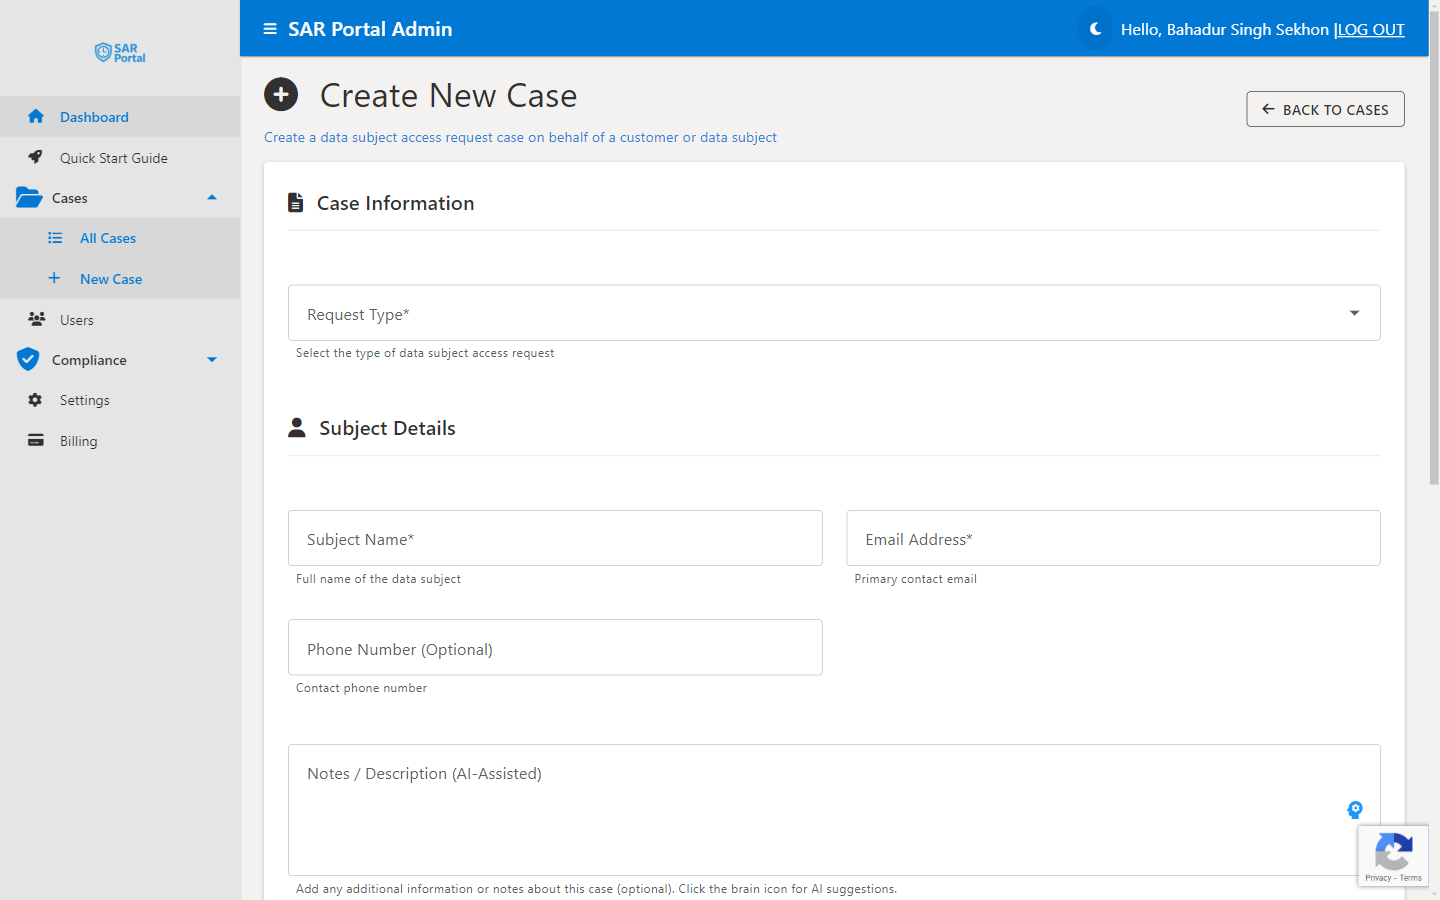
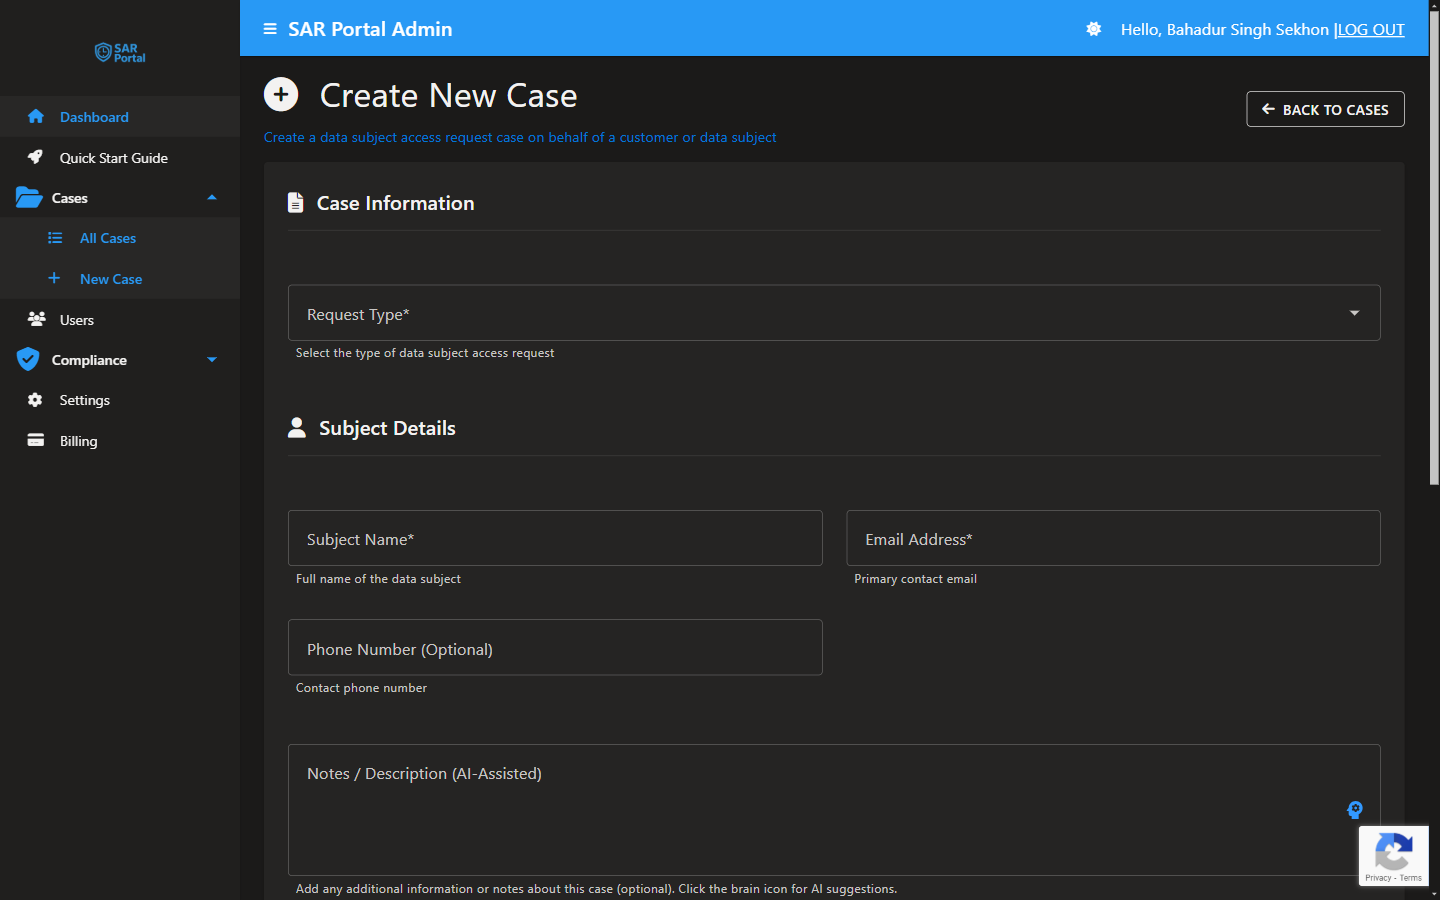
- Go to Cases in the sidebar
- Click Create New Case
- Fill in the form:
- Request Type: Access Request
- Subject Name: Test Subject
- Email: subject-email@example.com
- Notes: Test case for learning the system
- Click Create Case
Step 5: Explore Case Management
Now that you have a case, explore the key features:
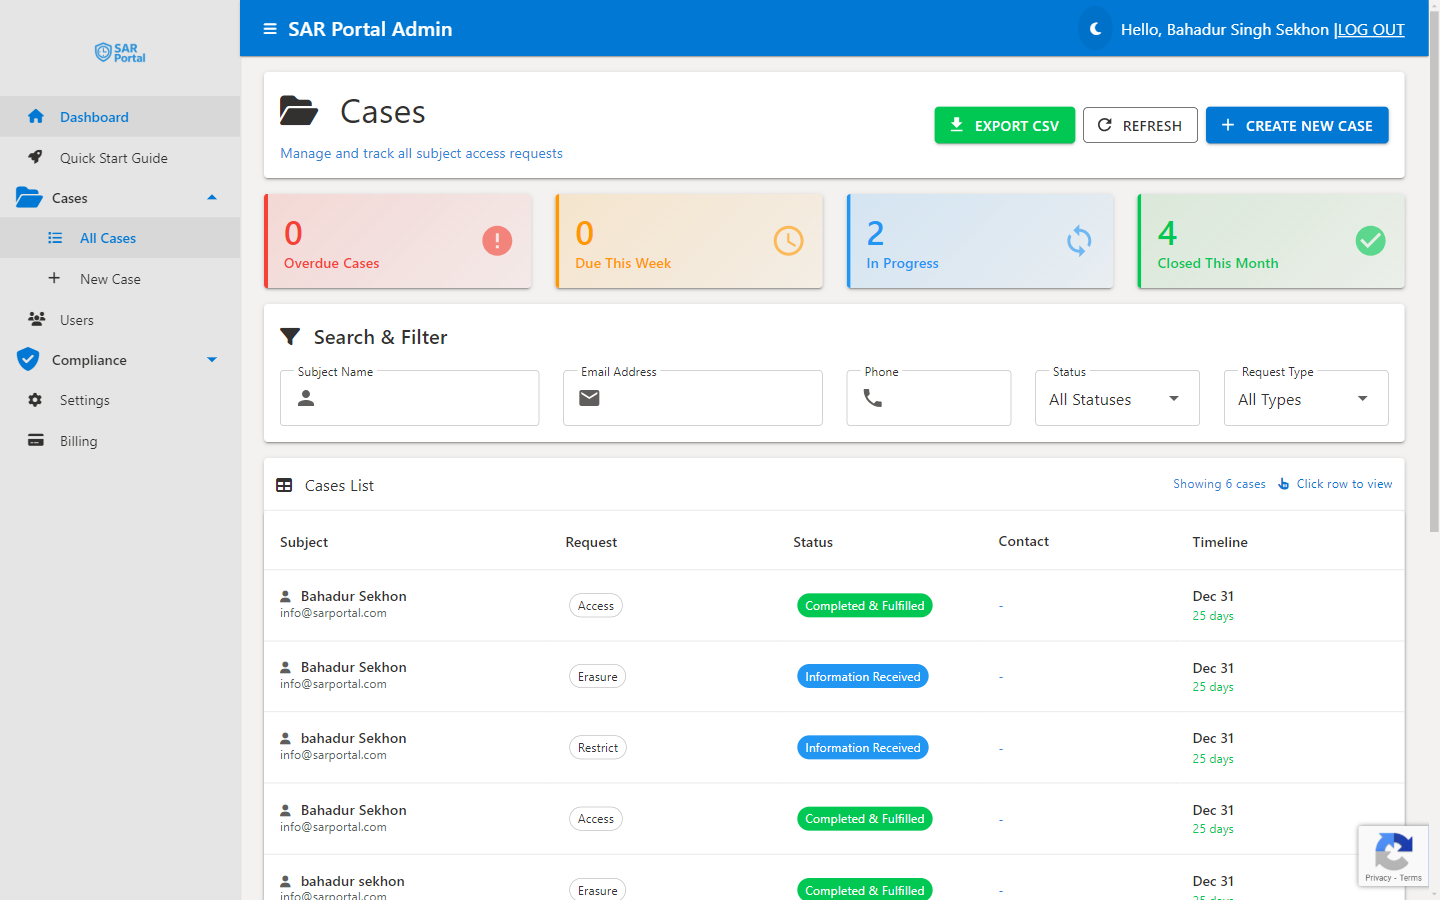
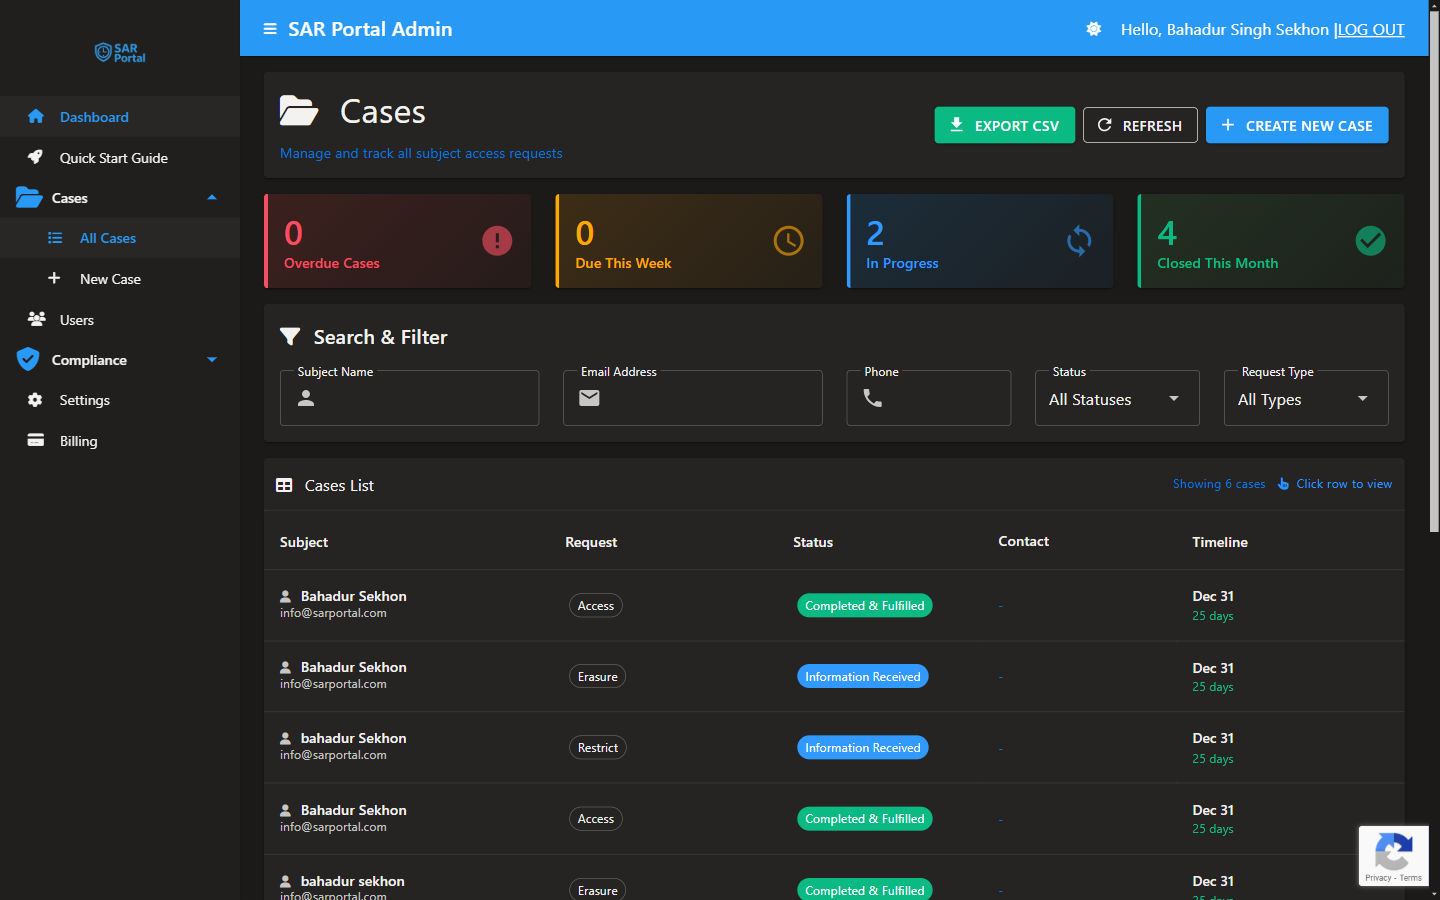
View the Case
Click on your test case to open the Case Summary page. Here you can:
- View case details and timeline
- Attach documents (inside a case action — see below)
- Add notes
- Change status
- Request more information
Attach Documents and Try AI Redaction
Documents are attached from within a case action — Request Info, Submit Info (shown when the case is Awaiting Information), or the Close Case dialog. There is no standalone upload button or drag-and-drop.
- Open one of those dialogs and use the file picker to add a sample document (hold Ctrl/Cmd to select several)
- Redactable files are scanned automatically — you land on the Review Detected PII screen
- Select the entities to redact and click Redact Selected, then review the result
- Click Confirm & Attach to Case (or Skip Redaction to attach the file unchanged)
Close the Case
- Click the red Close Case button
- Choose a Closure Reason (required, e.g. “Completed & Fulfilled”); if rejecting, also pick a Refusal Ground
- Add closing notes (optional) and attach any final documents
- Click Close Case to confirm
Going Live Checklist
Before accepting real requests, verify:
- Organization details are correct
- Public portal is configured and branded
- Portal URL is added to your privacy policy
- Email notifications are working
- At least one admin user is set up
- You’ve tested the full workflow with a dummy case
What to Do When You Receive a Request
From Public Portal
Requests submitted through your portal automatically create cases. You’ll receive an email notification with the case details.
Via Email or Other Channels
If someone sends a DSAR via email or letter:
- Create a new case manually
- Enter the subject’s details
- Attach any received documents via a case action (Request Info, Submit Info, or Close Case)
- Begin processing
Next Steps
Now that you’re set up:
- Learn about case statuses - Understand the DSAR workflow
- Set up AI redaction - Automate PII detection
- Invite your team - Add colleagues with appropriate roles
- Review compliance features - Prepare for audits
Getting Help
- In-App Guide: Click “Quick Start Guide” in the sidebar anytime
- Documentation: You’re reading it!
- Support: Email support@sarportal.com