Tutorial: Complete a Case End-to-End
This tutorial walks you through handling a complete Data Subject Access Request (DSAR) from receiving the request to sending the final response. Follow along in your own SAR Portal account.
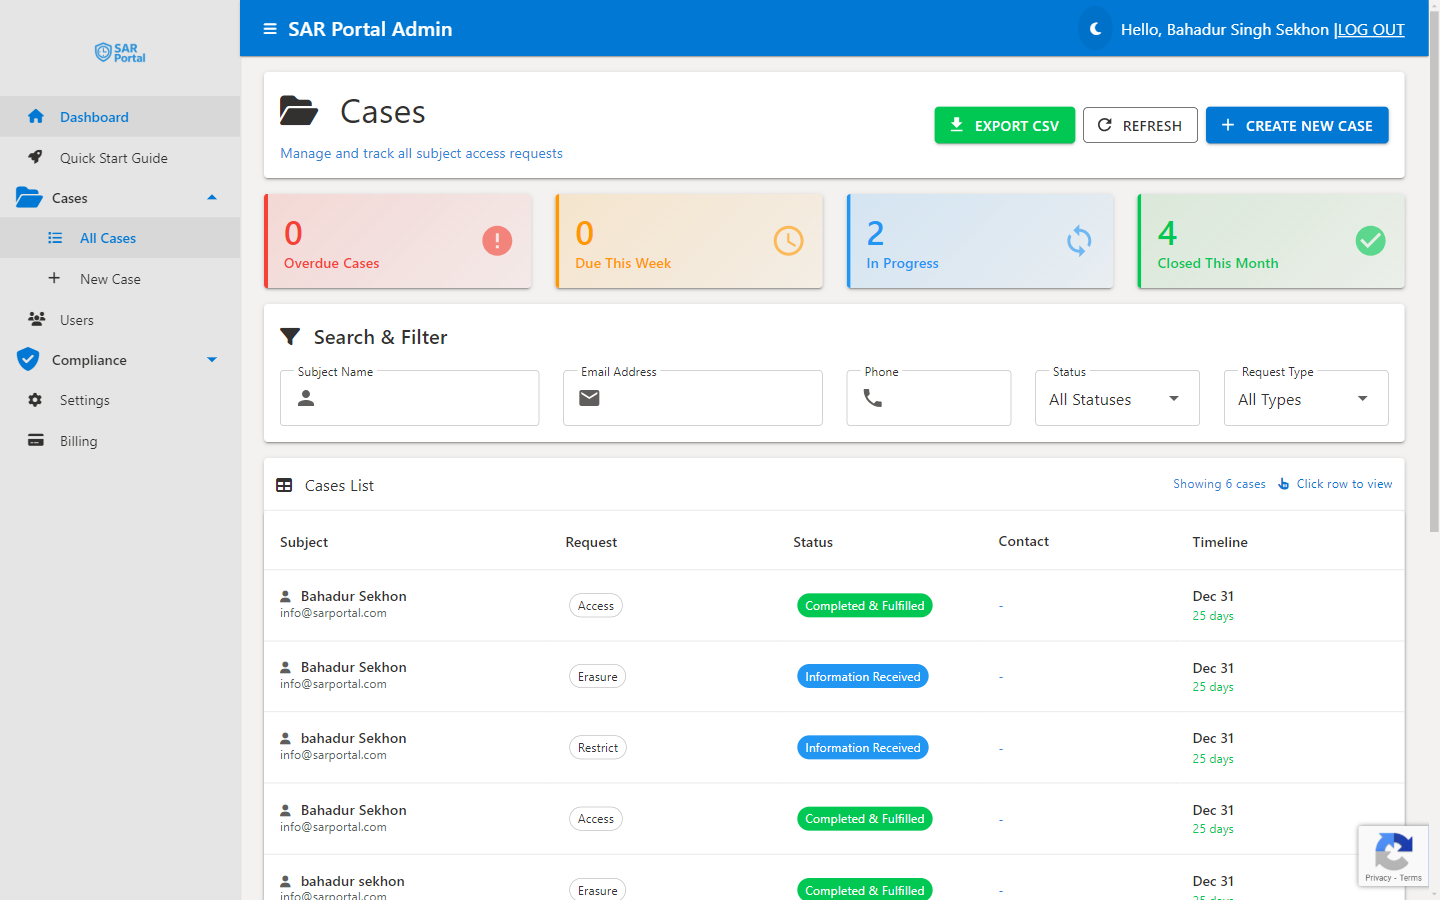
Scenario
The Request: John Smith has submitted an access request through your public portal, asking for a copy of all personal data you hold about him.
Your Task: Gather his data, review it for third-party information, redact where necessary, and respond within 30 days.
Step 1: Review the New Case (Day 1)
When the request comes in, you’ll receive an email notification and see it in your dashboard.
1.1 Open the Case
John Smith • john.smith@email.com
Access Request (Art. 15) • Due: 30 days
1.2 Review Case Details
Check the case summary:
- Request Type: Access Request (Article 15)
- Subject: John Smith
- Email: john.smith@email.com (verified via portal)
- Date Received: Today
- Due Date: 30 days from today
- Notes: Any details the subject provided
1.3 Update Status
Change the status to show you’ve started working:
Step 2: Gather Data (Days 1-7)
Now collect all personal data you hold about John Smith.
2.1 Search Your Systems
Check all locations where you might have John’s data:
- CRM / Customer database
- Email communications
- Order history
- Support tickets
- Marketing lists
- Any other systems
2.2 Export the Data
Export relevant records as documents:
- Customer profile PDF
- Email history export
- Order records CSV
- Support ticket history
2.3 Attach Documents
There’s no standalone upload button or drag-and-drop area. You attach files through one of the case flows — Request Info, Submit Info (while awaiting information), or the Close Case dialog — each of which opens a file picker. Hold Ctrl/Cmd to select several files at once.
PDF, Word, Excel, Images • Max 100 MB (10 MB on trial)
2.4 Add Notes
Document what you searched:
Searched the following systems for data relating to John Smith:
- Salesforce CRM: Found customer profile and order history
- Gmail: Found 23 email exchanges
- Zendesk: Found 2 support tickets
- Mailchimp: Found on marketing list (subscribed)
- Accounting system: No records found
Step 3: Review Detected PII (Days 7-14)
There’s no separate “Analyze for PII” button. When you attach redactable files, SAR Portal runs PII detection automatically and shows a Review Detected PII screen.
3.1 Review the Detected Entities
As your files are attached:
- PII detection runs automatically (no button to press)
- The Review Detected PII screen lists the entities found, grouped by type
- You decide which entities to redact — the subject’s own PII is shown but is not auto-selected, so John’s own data stays in his copy unless you choose otherwise
12 entities detected in email-history-export.pdf
3.2 Identify Third-Party Data
Important: You must redact personal data belonging to OTHER people before sending to John.
From the analysis above, identify:
- John’s data (keep): john.smith@email.com, John Smith, his phone, his address
- Third-party data (redact): Sarah Jones, Mike Wilson, Emma Brown, their emails and phones
Step 4: Redact Third-Party Data (Days 14-21)
Remove other people’s personal information from the documents — this happens on the same Review Detected PII screen, right after attaching.
4.1 Select the Entities to Redact
There’s no separate redaction editor to open. On the Review Detected PII screen, tick the third-party entities you want to remove. The subject’s own data is shown but not pre-selected, so leave John’s own details unticked.
Email Address • High confidence
Email Address • High confidence
4.2 Your Selections
| Entity | Selection | Reason |
|---|---|---|
| john.smith@email.com | Leave unticked | Subject’s own data |
| John Smith | Leave unticked | Subject’s own data |
| sarah.jones@company.com | Tick to redact | Third-party data |
| Sarah Jones | Tick to redact | Third-party data |
| mike.wilson@company.com | Tick to redact | Third-party data |
| Mike Wilson | Tick to redact | Third-party data |
4.3 Redact and Attach
- Click Redact Selected (n) to apply the redactions to your selected entities
- Review the redacted result on the next screen
- Click Confirm & Attach to Case (n) to add the redacted files to the case
Step 5: Review & Approve (Days 21-28)
Before responding, have the documents reviewed.
5.1 Mark Identity as Verified
Once you’ve confirmed the subject’s identity, click Mark Verified. It’s a single click — there’s no method picker and no notes field. The method is recorded automatically, which is your GDPR Article 12 evidence:
Method recorded automatically: Portal token (John verified his email at submission). Timestamp captured automatically.
John submitted through the portal, so his email was already verified at submission — the method is recorded as Portal token automatically. When an admin clicks Mark Verified on a case that arrived by another channel, the method is recorded as Manual review. If you carried out extra checks (e.g. inspected an ID document), note them in the case Notes. See Identity Verification.
5.2 Review Checklist
Before closing, verify:
- All systems searched for subject's data
- All relevant documents gathered
- Third-party data identified and redacted
- Documents are in accessible format
- Response is within 30-day deadline
- Manager/legal approval obtained (if required)
5.3 Add Final Notes
Document your review:
Review completed by: Jane Admin
Date: [Today]
Documents reviewed: 3
Redactions applied: 8 third-party items
Response ready for delivery
Step 6: Close the Case (Day 28)
Finalize and send the response.
6.1 Prepare Response Package
Download the redacted documents to send to John:
- Click Download on each redacted document
- Compile into a response package
- Include a cover letter explaining what’s provided
6.2 Send Response to Subject
SAR Portal does not send the final package from inside the app — you deliver the downloaded documents yourself. Because John submitted through the public portal, he can track status and retrieve his response via the secure portal link he already holds (app.sarportal.com/subjectaccess?token=...). You can also deliver the package directly via:
- Encrypted email with attachments
- Encrypted file sharing link
- Physical mail if requested
6.3 Close the Case
Click the red Close Case button to open the dialog. Choose a Closure Reason (here, Completed & Fulfilled), add optional AI-assisted Closure Notes, and attach any final correspondence. If you pick Rejected or Invalid Request, the dialog also requires a Refusal Ground. The dialog warns you if no identity verification was recorded — you’ve already marked John verified, so you’re clear. Closing is permanent.
6.4 Confirmation
Case Closed Successfully
CASE-2024-0042 • Completed in 28 days
Summary
You’ve successfully completed a DSAR by:
- ✅ Reviewing the incoming request
- ✅ Gathering data from all your systems
- ✅ Analyzing documents for personal data
- ✅ Redacting third-party information
- ✅ Reviewing before sending
- ✅ Closing with full documentation
Time Spent
| Phase | Days | Activities |
|---|---|---|
| Review | 1 | Open case, understand request |
| Gather | 7 | Search systems, export data |
| Analyze | 7 | Run AI analysis, identify PII |
| Redact | 7 | Apply redactions, create clean docs |
| Review | 4 | Final review, obtain approvals |
| Close | 2 | Send response, close case |
| Total | 28 | Within 30-day deadline |
The Audit Trail
SAR Portal has automatically recorded:
- When the case was created
- Every status change
- All document uploads
- AI analysis results
- Redaction decisions
- Who did what and when
- Final closure details